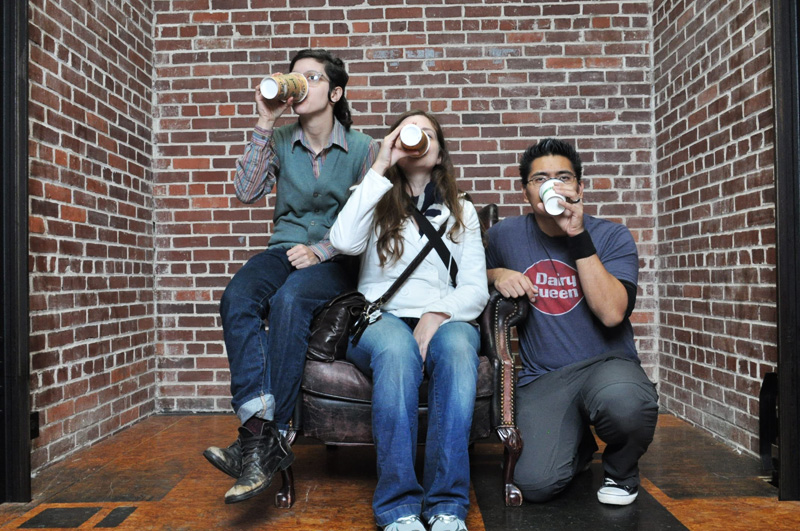
Over the weekend we had a photobooth at the Indie Craft Experience Holiday Extravaganza 2011! We’ve actually had the photobooth there for the past three years and it’s always been pretty awesome. Of course we’ve changed and refined our photobooth each time. We started out with it really just being kind of like a strobist model session – with two umbrella’d speedlights, off camera flash triggers, and us just bossing people around into poses, and shooting.
Then we changed it up and added a monitor, and gave the remote control trigger to the people IN the photobooth – so that they could see the photos immediately after they took them. And well – now we finally have something resembling one of those ‘box’ photobooths that you see at carnivals or the theater or even at weddings when they rent them out.
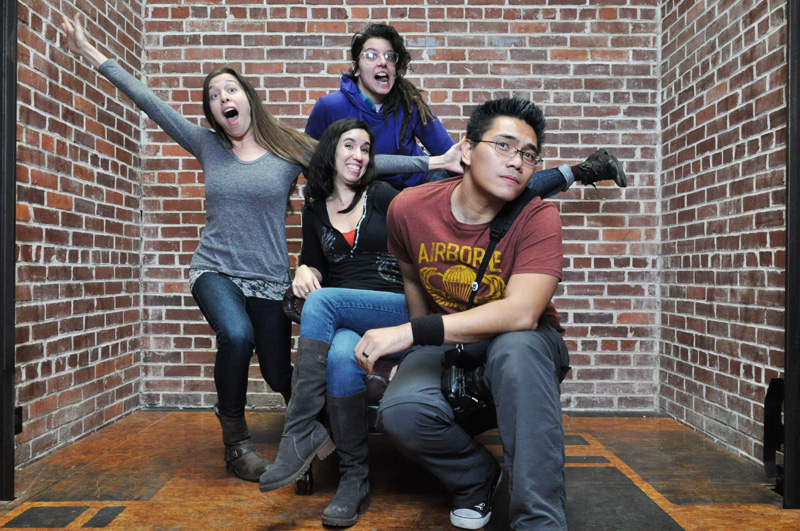
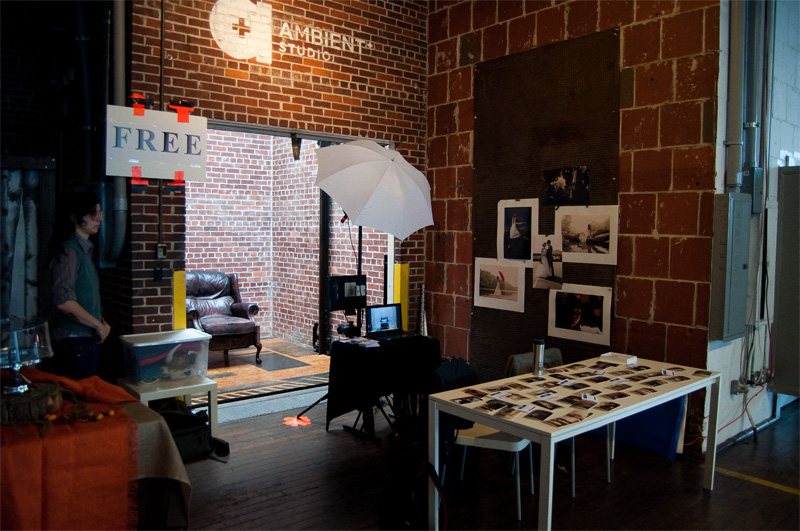
So here’s a far view of what our setup looks like – it’s set pretty low since this year we were provided that awesome chair to use in our photobooth! People ‘get in’ and then they can see themselves in the monitor directly facing them – then they get in position(s) – and we click start, and then it takes a series of 4 photos, with a countdown clock, about 4 seconds apart. And all those are changeable options that we can set depending on what we’d like/the client request.
This post should give you an idea of how to build your own photobooth setup – and then of course you should make your own modifications, dressing it up as you see fit, and or just adjusting it to the gear you currently have. Of course – we prefer gear that just works and most importantly – works RIGHT NOW.
This is essentially what the people see when they get in the photobooth, a monitor ‘reflecting’ back at them (it’s actually ‘mirrored’) and the camera. You can of course buy any flat screen monitor – it doesn’t need to be fancy.
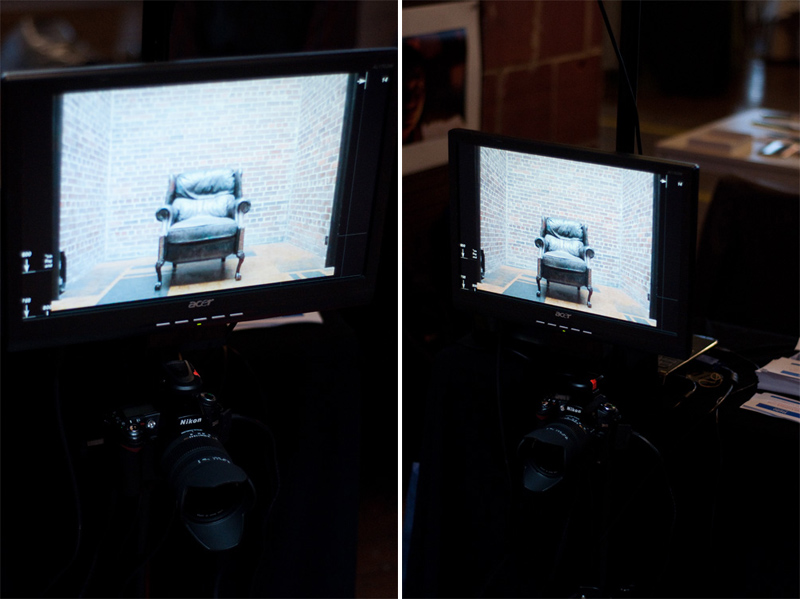
Now to get a clearer view of the entire setup – I stripped it down and set it up in our baby’s nursery (you know – the one he was BORN IN) – it’s the only room in our apartment with enough space right now!
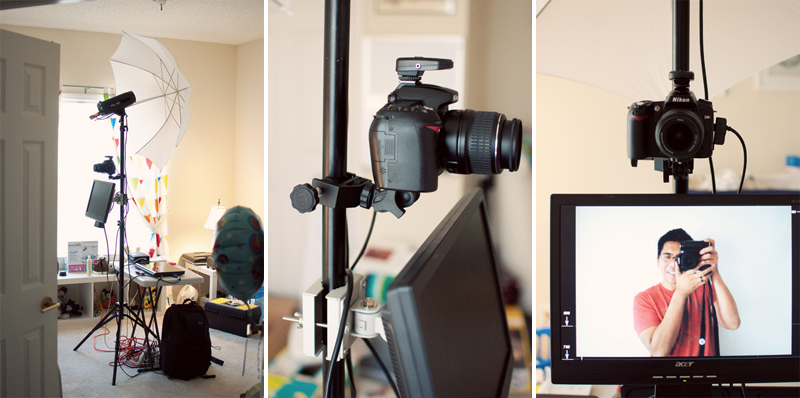
So you can see that we have everything all clamped to a single, heavy duty lightstand. Instead of having a tripod for the camera, and a separate stand for the light, and then something else for the monitor. When we get the platform for the laptop, we’ll be able to clamp that onto the pole as well. Below are the clamps/mounts for each.
Pedco UltraClamp.
Swivel Pole Mount.

We have a flash trigger on the hot shoe and that sends a signal to the strobe – since the distance is maybe 3 feet, we don’t feel the need to spend $150+ for a set of triggers (pocket wizards) when we can spend $40 for a set that’ll do the job. Heck – for this you could probably even get away with a $50 studio strobe since you just need regular, mostly consistent light output. We generally try not to use speedlights for the photobooths because of the needed batteries, and they can quickly weaken, needing a tweaking of the camera settings, or changing the batteries. If you just have a studio strobe of some sort, you’ll pretty much always have controlled light output and not have to worry about making adjustments to your settings.
Oh yeah – and use a reflective WHITE umbrella or even a softbox – do not use a reflective silver umbrella as it will bounce back too much light and just look pretty awful.
Flash Triggers.
Basic Studio Strobe.
White Umbrella.
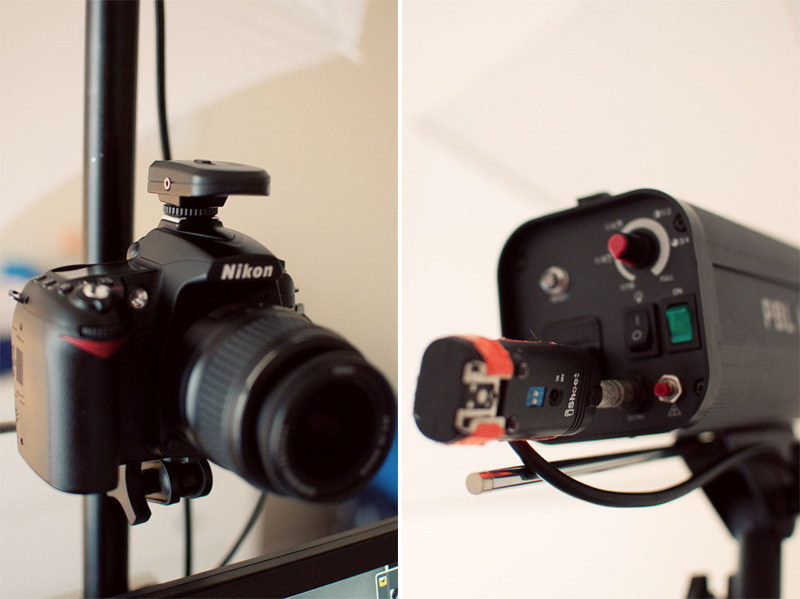
With our current photobooth setup – we connect the camera by USB cable to our laptop, and then run NKRemote software to control everything. Now other photographers will use Lightroom and other various software, but we choose NKRemote primarily because of it’s many adjustable options. We can set how many photos we want taken in a series, the layout – but most importantly, it also does that ‘countdown clock’. So people can see on the monitor that the next picture will be taken at 5… 4… 3… 2… 1… CLICK. And then again.
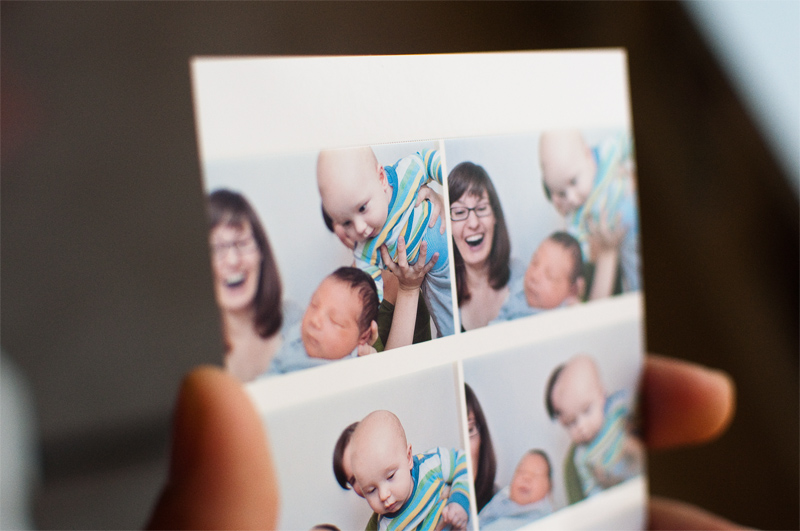
And then the software will ‘process’ the photos, and format them for printing – and then you can set it up to go directly to printing, or require ‘approval’ which is just a choosing of ‘Print’ or ‘Cancel’ (that’s those two squares in the upper left corner in the photos below.
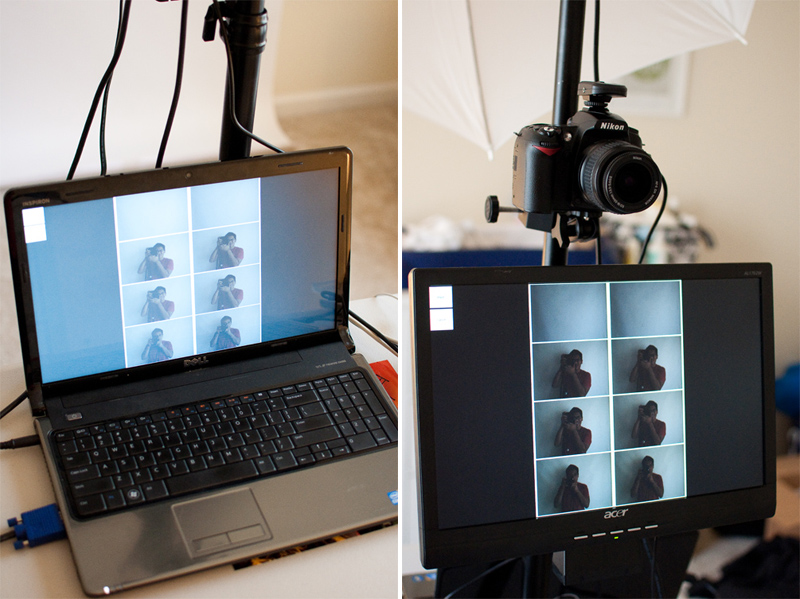
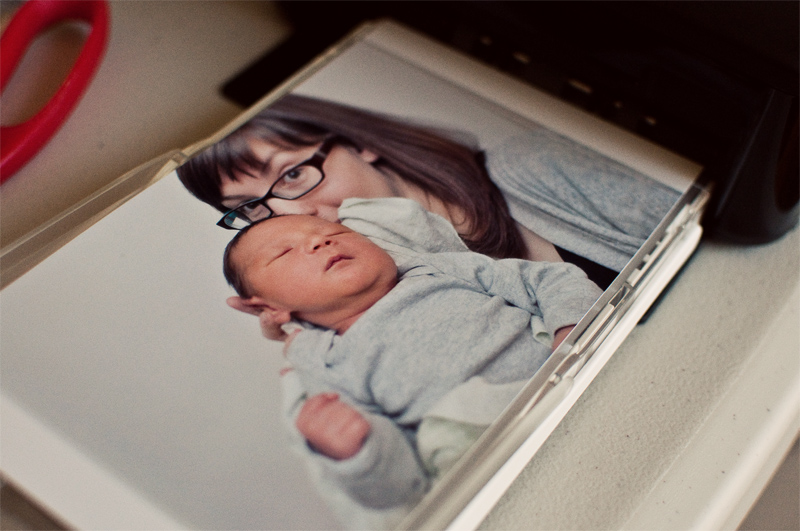
And then it prints out like this on a 4×6 sheet of photo paper. Cut it in half and one copy goes to the Wedding Couple – and the other goes to the guests to keep. BUT all of the digital files are also saved to your laptop.
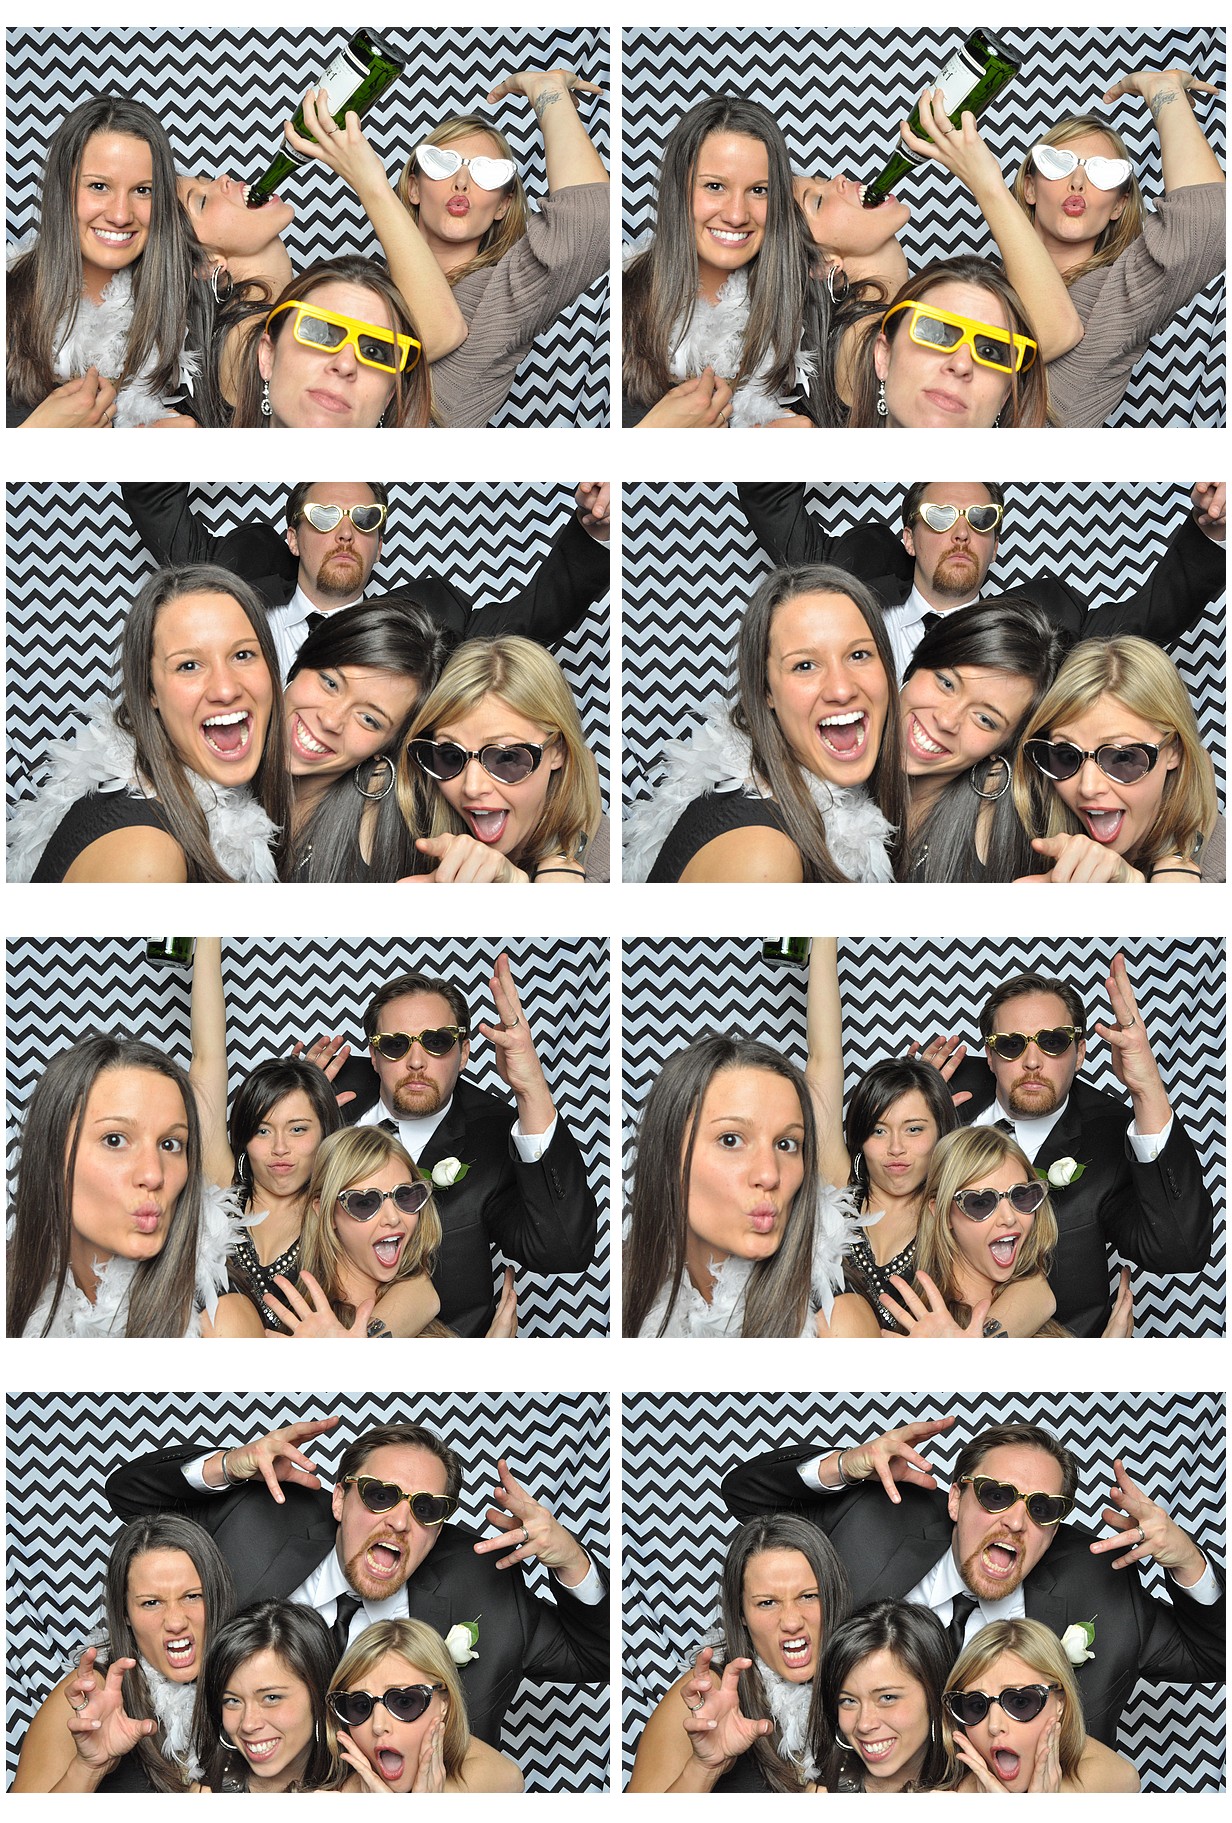
Ah but what about the printer? – So with something like this, you want the absolute EASIEST printer possible. Something that has no hiccups, isn’t messy, and is basically a workhorse – along with not killing you in the cost-per-print department.
We found the Canon Selphy CP800 to be the best choice right now. It’s the most simple, and with it being a CMYK laser print process – it’s a billion times better than any quick Inkjet printer. The ink cartridges have a SET AMOUNT of prints that you can get out of them – which also means that you will never end up with ‘faded/half done/running out of ink’ prints and have to make reprints. It just says ‘out of ink’ after the last COMPLETE printing and then you have to change the cartridge out – and that’s super easy too of course.
Did I also mention that size-wise it’s just a little bigger than a bag of a pound of coffee? It’s probably just as big as a Nikon D3 and weighs LESS.
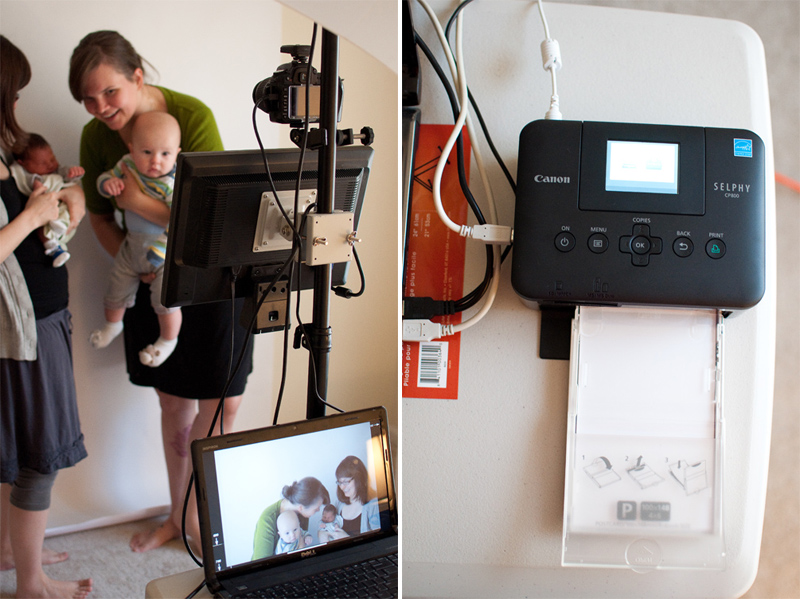

The process from when you ‘start’ the photobooth, take the photos, hit print and then pick up the finished photo is… pretty easy and rather seamless.
Of course – with all of these parts and all of these cables, you can ‘dress it up’ however you’d like, with various cloth coverings, piping, or even building a ‘box’ housing so that people only see the camera and the monitors – and then a photo spits out eventually.
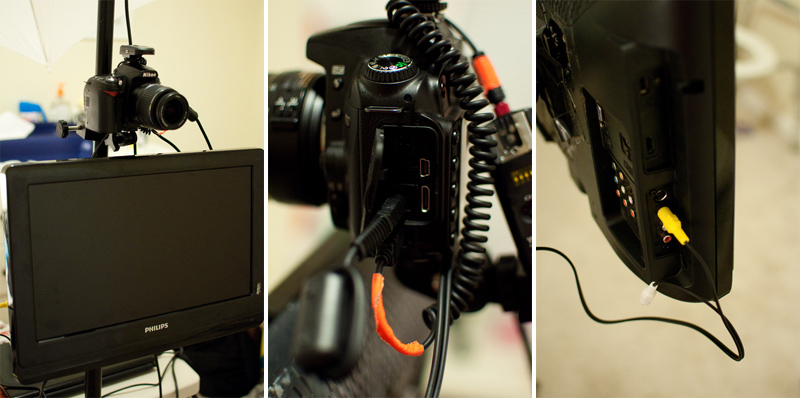
OH YEAH – so the setup we had BEFORE we had onsite printing as an option was really basic but totally effective. In fact, when a client doesn’t choose onsite printing and wants our basic setup – this is what we use.
We still have the camera + trigger + strobe, but instead of hooking the camera up to a laptop, we hook it up to a regular flat screen television monitor. We hook it up to the television using either the HDMI port or the simple AV port. We prefer to use the AV port with a AV to Composite cable (your camera probably came with one of these – ours did) – because the photos transfer faster to the screen since it’s just a ‘dummy’ connection and it’s not sending a HD quality photo, but instead it’s just sending the same quality photo as what’s on the back of your camera’s LCD screen. In other words – FAST.
Oh – with this simpler setup we also attach a shutter release remote – but instead of buying a separate remote – we actually just use RF-602 radio flash triggers because they double as shutter release remotes. What we found though was that we had to hook up one receiver into the side of the camera (GPS port on Nikons, and the actual shutter release port on Canon) – and use one hotshoe trigger as the hand held remote. Then we still had to have the separate trigger/receive setup with the hotshoe and the strobe.
Just use the RF-602 triggers (or updated model) and get 3 receivers and 2 triggers and you’ll have everything you need for less than a single set of pocket wizards. The trigger/remote by themselves are just $10!
And now. It’s time for some coffee.
